How Do I Connect and Set Up MailChimp?
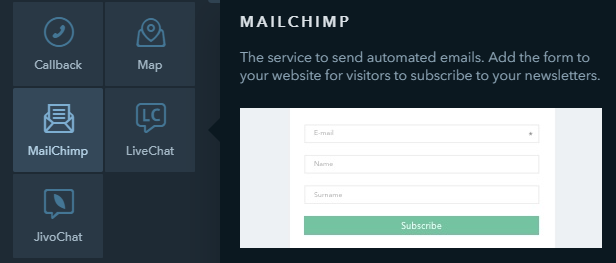
The MailChimp widget allow you to set up sending newsletters to those who subscribed to your company’s news. MailChimp can be used for:
- pre-built automatic email marketing
- sending emails manually to all your subscribers at once
How Do I Create an Account with MailChimp?
Add the MailChimp widget to any page of your website and click on the widget. It will bring up the settings on the left — click on Create an account on this panel. You will be redirected to MailChimp where they will offer you sign up:

Enter your credentials and click on Get Started. Then, you will receive an email from MailChimp containing the Activate Account button for you to confirm your account. Click on it to complete the registration.
Then, you will be asked to select a pricing plan. Choose the free plan or one of the paid ones. Click Complete.
Configure your account filling in information about yourself, your occupation, and answer the questions following the tips of the service.
How Do I Connect My MailChimp Account to uKit?
In the Builder mode, click on the installed MailChimp widget and choose Connect account on the left panel. In the window that will open, enter your MailChimp username and password to connect your account to your uKit website:

Authorize your MailChimp account to the uKit website builder by clicking Allow.
Your MailChimp account is now successfully connected.
Note:
When enabling Double Opt-in, the user must confirm their consent to be added to the mailing list by replying to an automatically received email. Until the user has confirmed their consent, they will not be added to the mailing list. Please note that this option may not work properly with Gmail, so it is not recommended to enable this option.
How Do I Set Up an Email Campaign?
To create a campaign, log in to MailChimp from your uKit page. Once you are signed in, select the Campaigns tab, and click on Create Campaigns.

Select Email, then enter the Campaign Name and click Begin.

On the page that will open, you need to specify:
- Receiver of the newsletter (To)
- Sender's name and email address (From)
- Subject and preview text (Subject)
- Content of the email (Content)
