How Can I Build an Online Store?
In this guide, we will give you a general idea of the uKit website builder and its features which will help you create your first online store.
- Creating an online store
- Choosing a website design
- Adding content
- Verifying a website with Google
- Enabling statistics
Creating an Online Store
Go to ukit.com and click on Create a Website:

Choose a signup way that suits you best: with your social media account or with your email and password. Remember the info you indicated, it will be necessary for logging in to your account in the future.
Choosing a Website Design
In this guide, we will take the creation of an online flower shop as an example. Select Flowers & Floristry on the list of categories, and you will see all designs for florists.
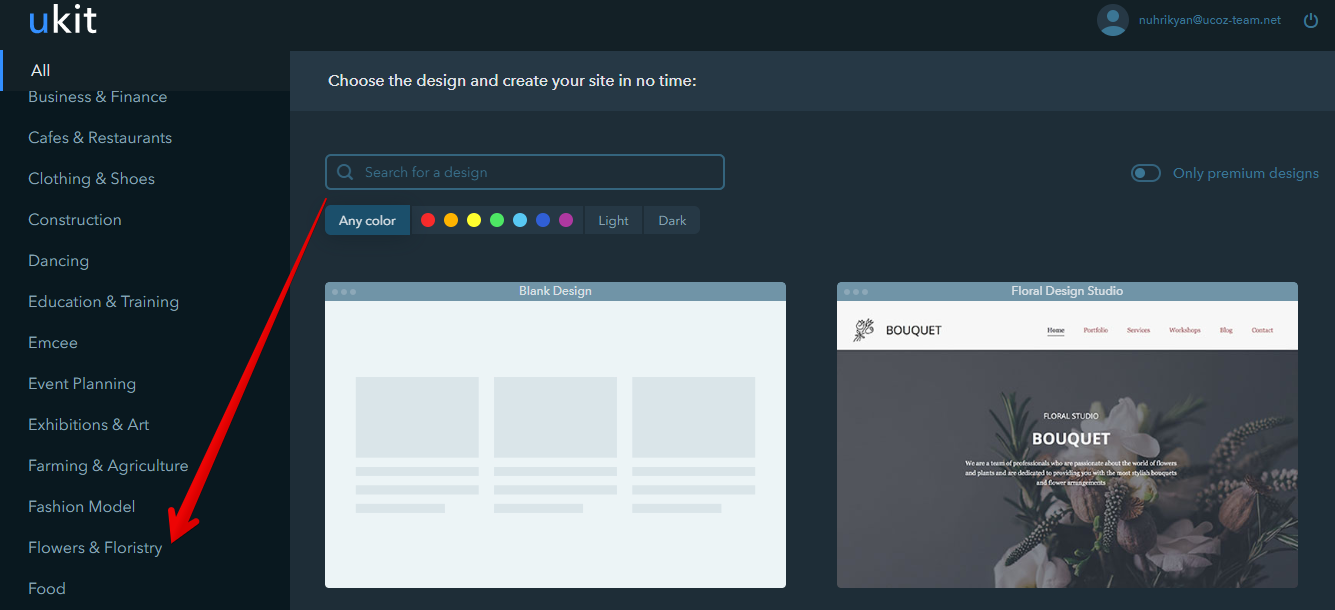
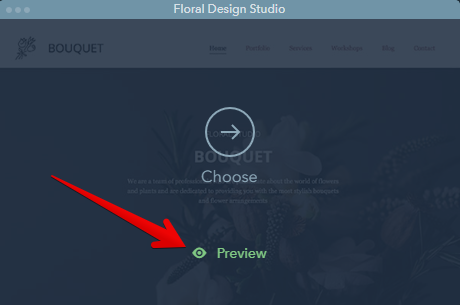
To learn more about a particular template, hover your mouse over it and click on Preview:
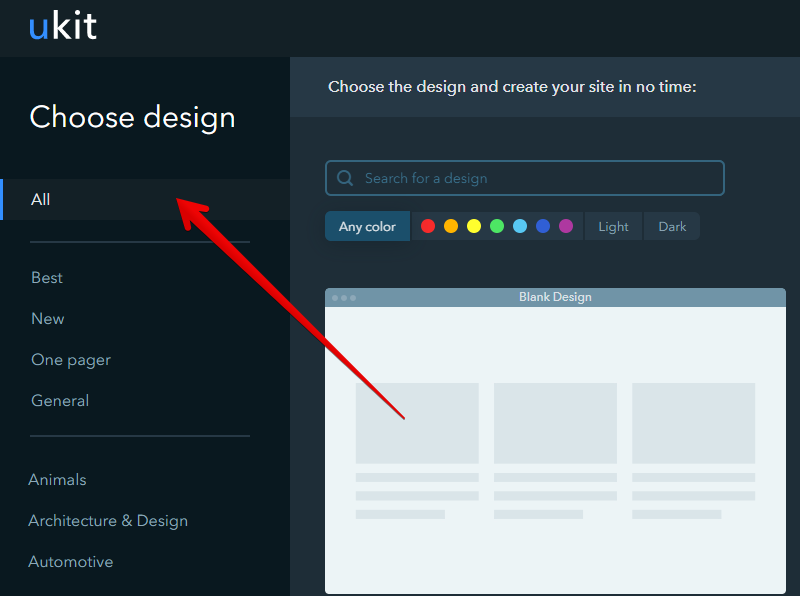
If you haven’t found a suitable design under Flowers & Floristry or any other type you require, try looking up other categories or choose one of the General designs. You can also view all designs available under All:
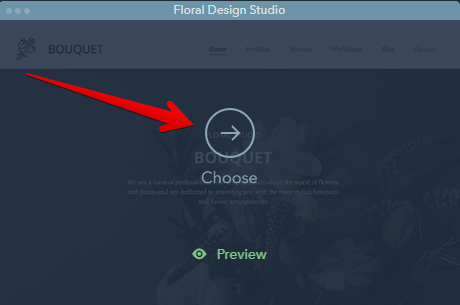
Once you find a design that is perfect for you, click on Choose:
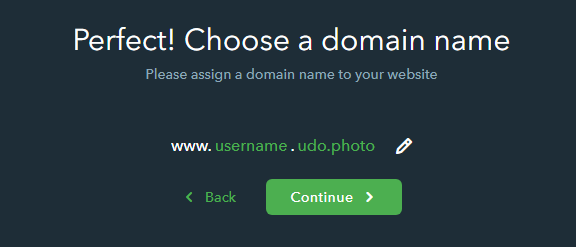
The next step is to choose a name for your website. Type in the desired name and click Continue:
Adding Сontent
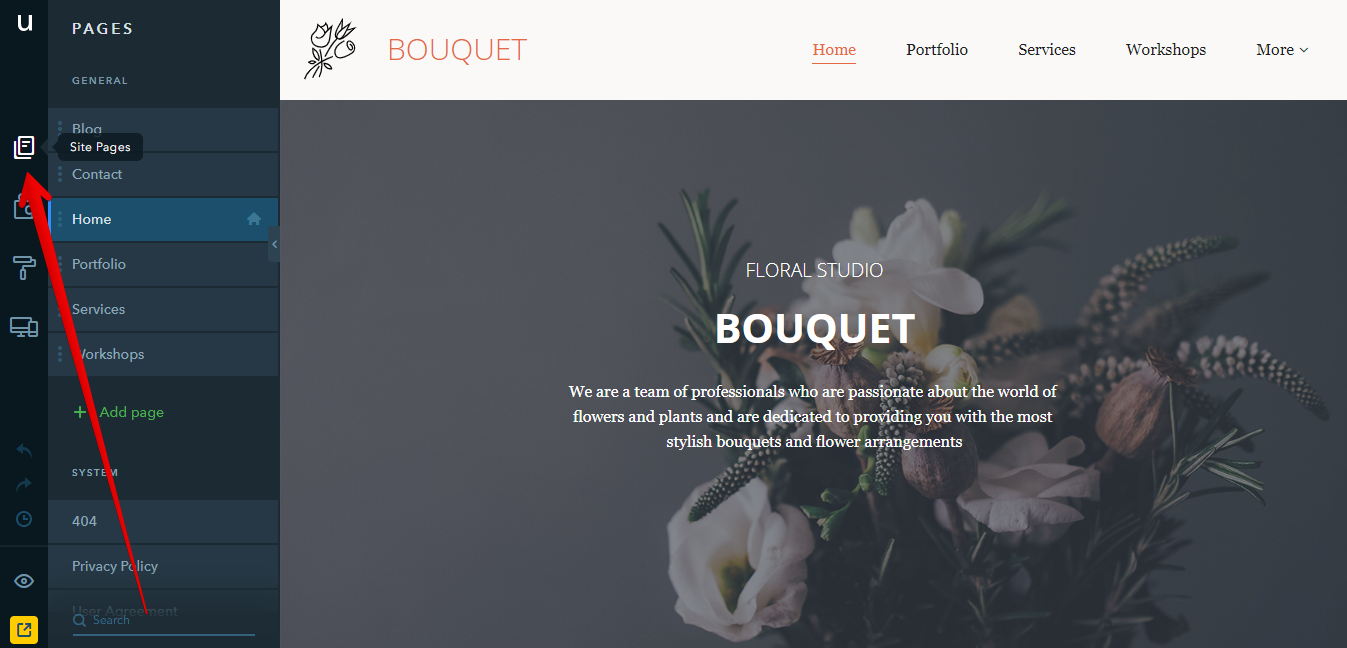
Go to the Site Pages tab of the Builder:
By default, the House Plants design includes the following pages:
- Home: The main and the most visited page of a website;
- Catalog: The page contains the range of your products. Here visitors can purchase your products;
- Contact: This page is for placing information about you or your company and adding your contacts: phone number, map marker, feedback form;
- About: Brief information about the company;
- Blog: The page where you can post updates and news about your professional life.
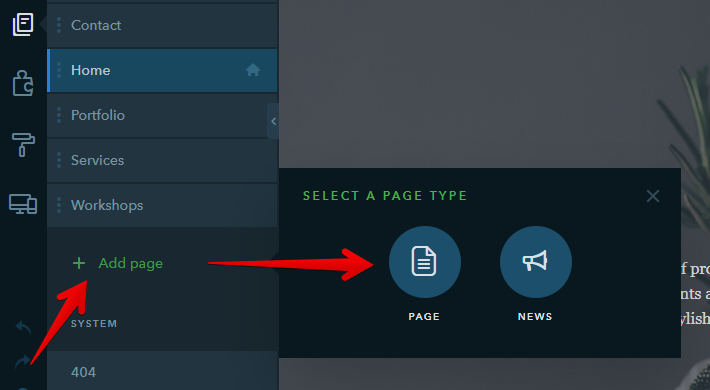
If you need more pages, click on + Add page and select the page type:
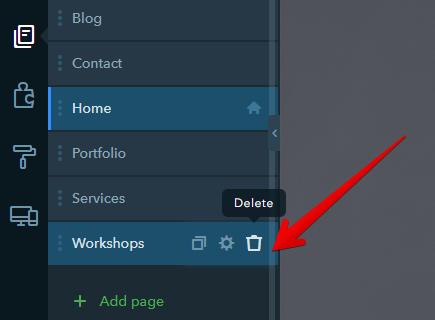
To delete a page, mouse over it on the list and click on the "trash" icon:
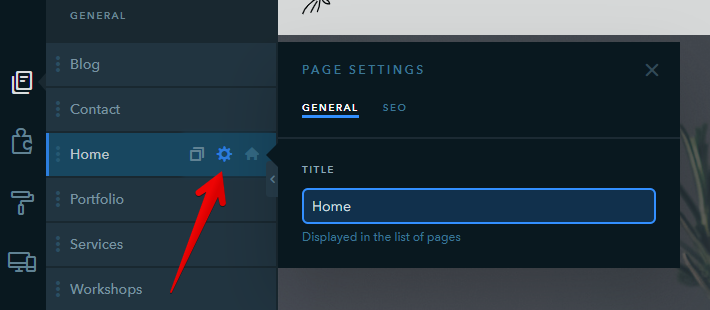
To edit a page: mouse over it and click on the "gear" icon. The General tab includes settings for the page title - this is the way it will display on the list of pages:
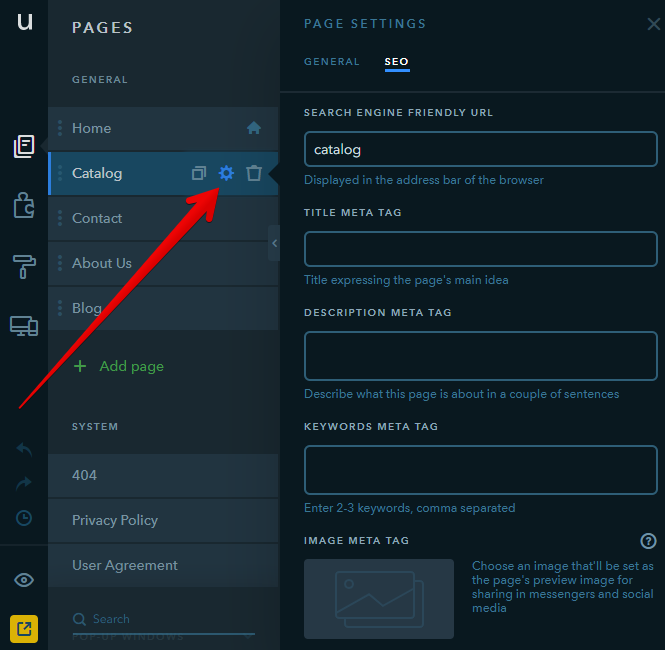
The SEO tab has a number of settings to configure the way a page looks in a browser tab and in search engine results: title, description, image, keywords. For some pages, you can also set up a search engine friendly URL and hide a page from indexing:
To proceed to fill a page with content, click on it on the list. In the right part of the builder you will see the default info added to a page:
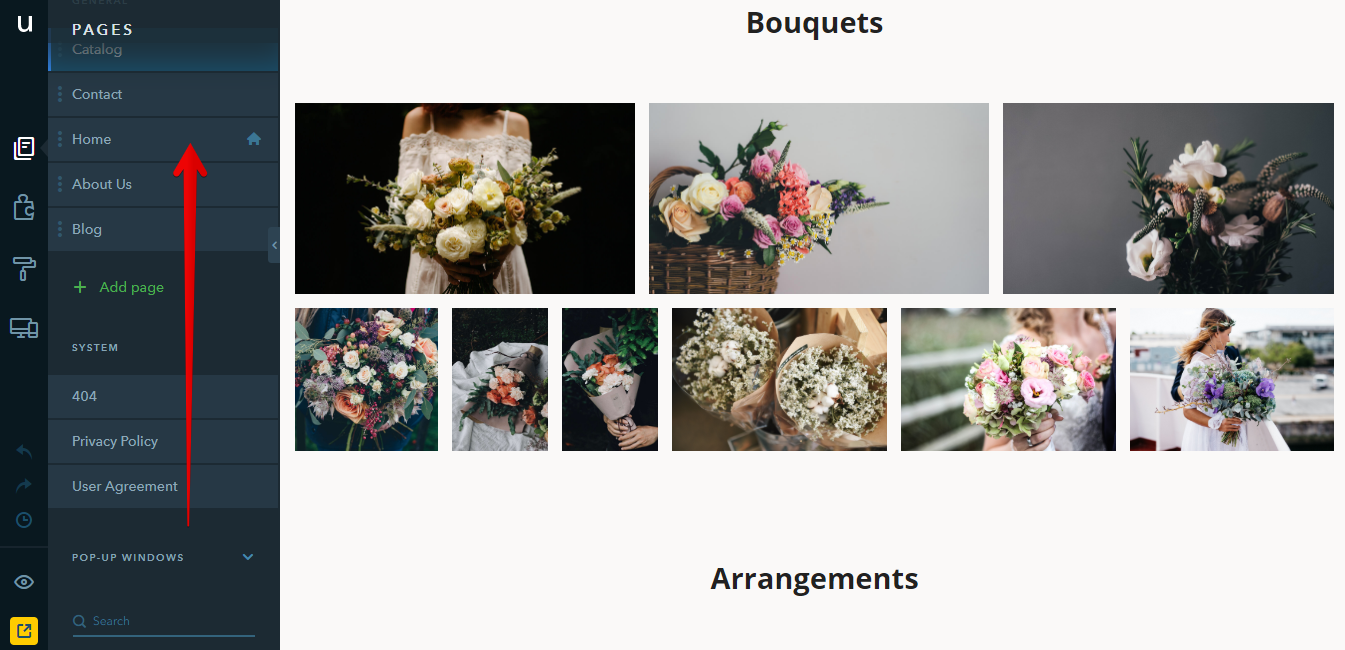
Below you can see how the Catalog (as well as other pages) can be configured.
Open the Catalogue page from the list of pages, then click on the Builder tab (the "puzzle" icon) on the left panel:
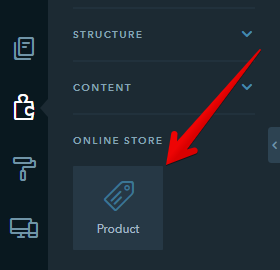
To enable the online store drag the Product widget to your website. Go to the Product widget settings, click on it, and change the standard image to the image of your product, indicate its name and price and give the description. If needed, you can add product options or create a product description page. You can also set up statistics collection as you do for the Card widget:

Note:
You can add an unlimited number of online store items.
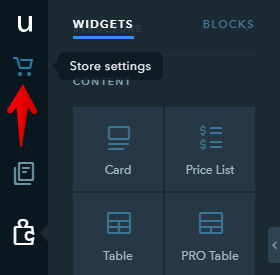
To go to the store settings, click on the "cart" icon in the top left of your screen. It will open the following tabs:
- Product catalog: The entire list of products you have added to the website. In the tab, you can go to the product page, duplicate and remove products;
- Settings: Choose currency and units of measure that will be used in your store, set up what happens when an item is added to the cart;
- Order form: Customize the order form by adding a message for buyers and setting up the order fields;
- Shipping: Set up and edit shipping methods and delivery price;
- Payments: Connect and configure payment methods;
- Pages: Configure the design of the page and the message displayed after the order has been placed;
- Promo codes: Create new promo codes, edit, and remove the existing ones. Read more in the article: How Can I Create Custom Promo Codes for My uKit Online Store?
Note:
By adding the Product widget to your website, you start a 14-day trial period when you can set up and test all features of the online store. Once the trial period is over, placing orders on your website will be suspended. If you would like to keep your online store up and running, you will need to subscribe to the eCommerce or Pro plan.
To learn more about an online store, click on here.
Verifying a Website With Google
Before verifying a website with search engines, you need to publish it.
We also recommend to register a custom domain for your website, it can be purchased either from uKit or from a third-party domain provider.
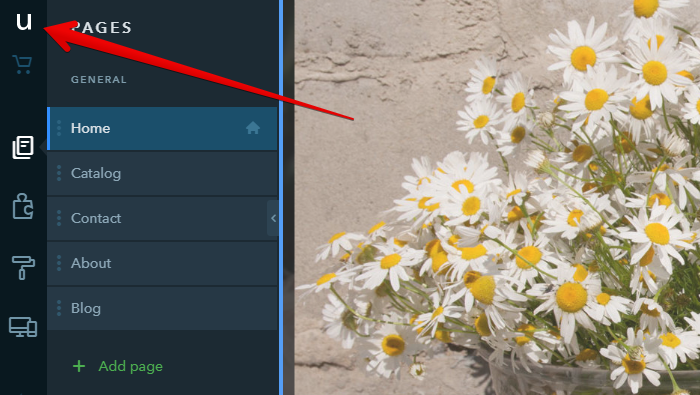
Go to the uKit Dashboard by clicking on the “U” icon:
- Make sure you are editing the website you want to verify;
- The website is supposed to be published;
- On the Dashboard, click on Promotion.

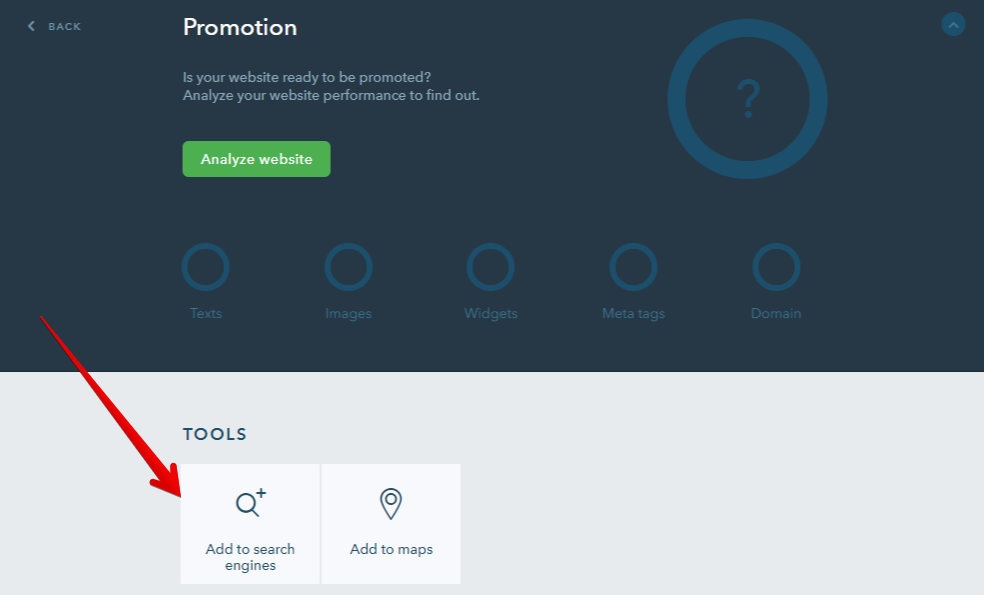
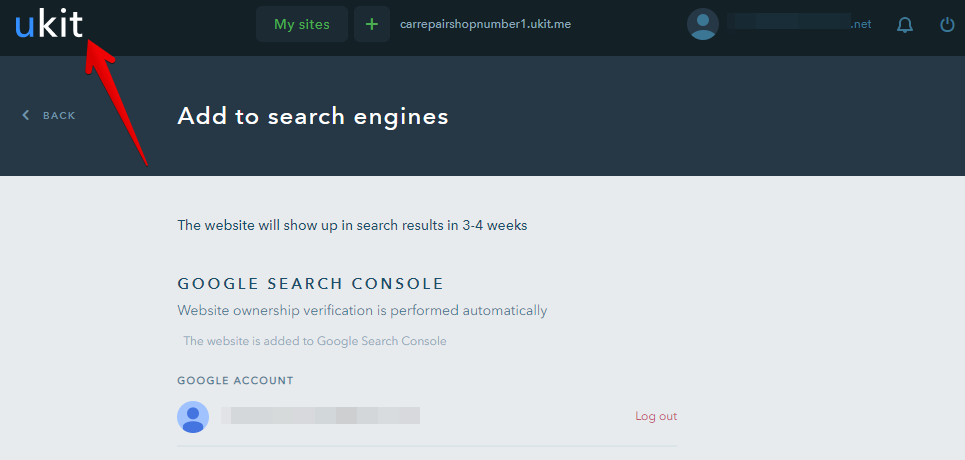
To make your website visible for search engines, you need to add it to Google Search Console. It can be done on the Dashboard > Promotion > Add to search engines:
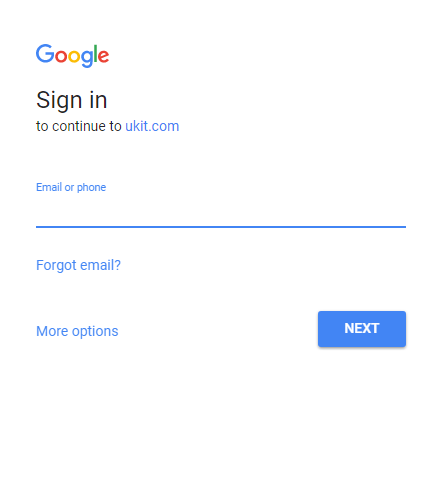
Click on Add a website under Google Search Console, then enter your Google account credentials. You can either use an existing account or create a new one:
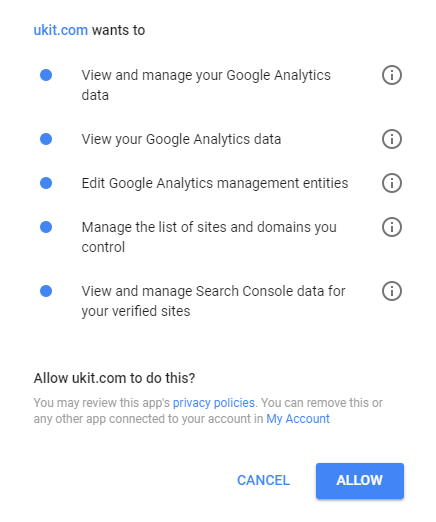
Allow uKit to perform all these actions:
When your website is successfully added to Google Search Console, you will see this note:

This means your website will soon appear in Google search.
Enabling Statistics
Website statistics are necessary for tracking your website visitors.
Go to the uKit Dashboard by clicking on the uKit logo in the top left of your screen:
Click on Statistics:

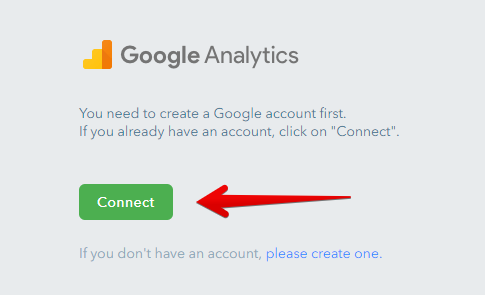
Click on Connect under Google Analytics:
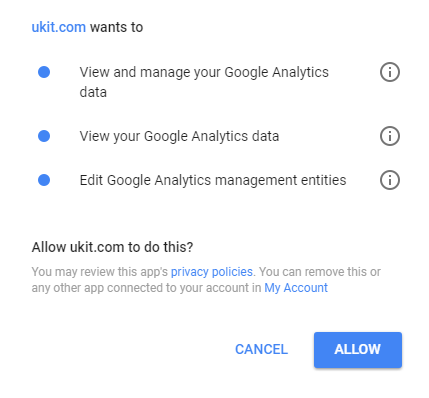
Then you will need to allow uKit to manage counters in your Google Analytics account:
When your website is successfully connected to Google Analytics, you will see this message:

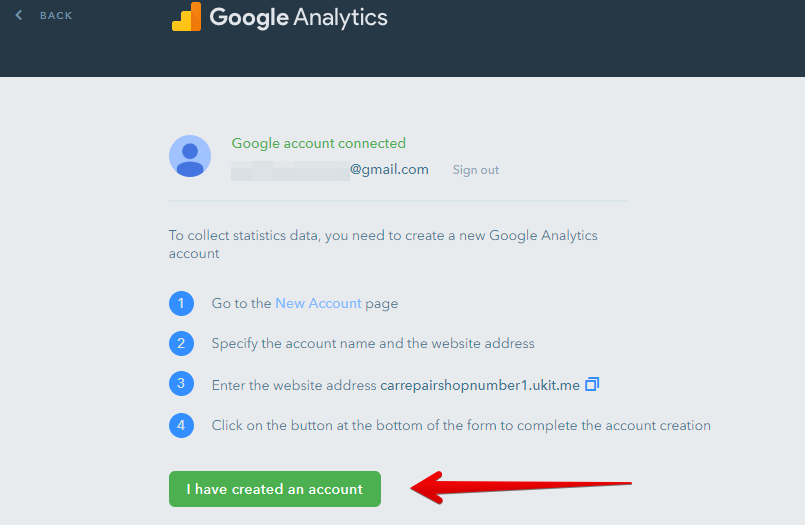
Create an account with Google Analytics by clicking New Account:
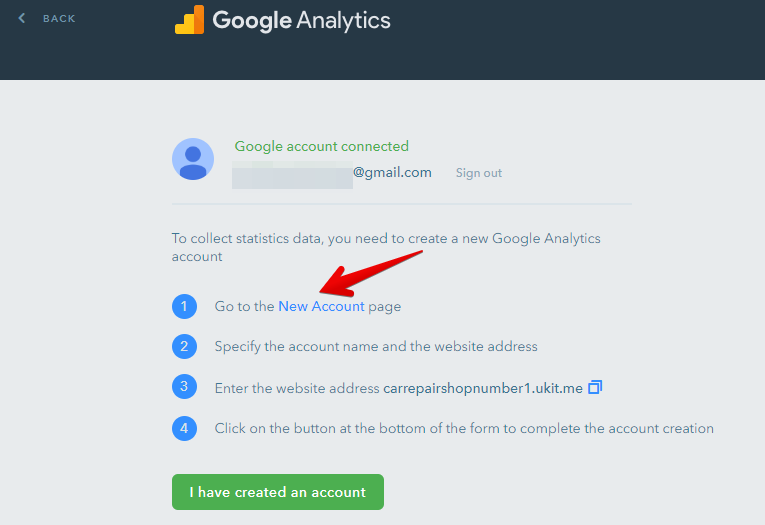
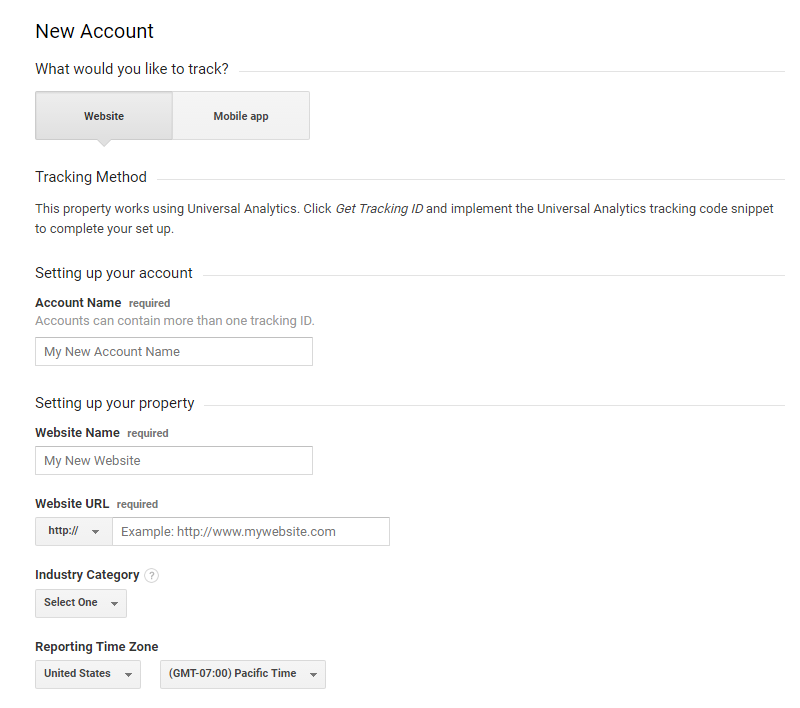
You will be redirected to Google Analytics where you need to fill in the registration form:
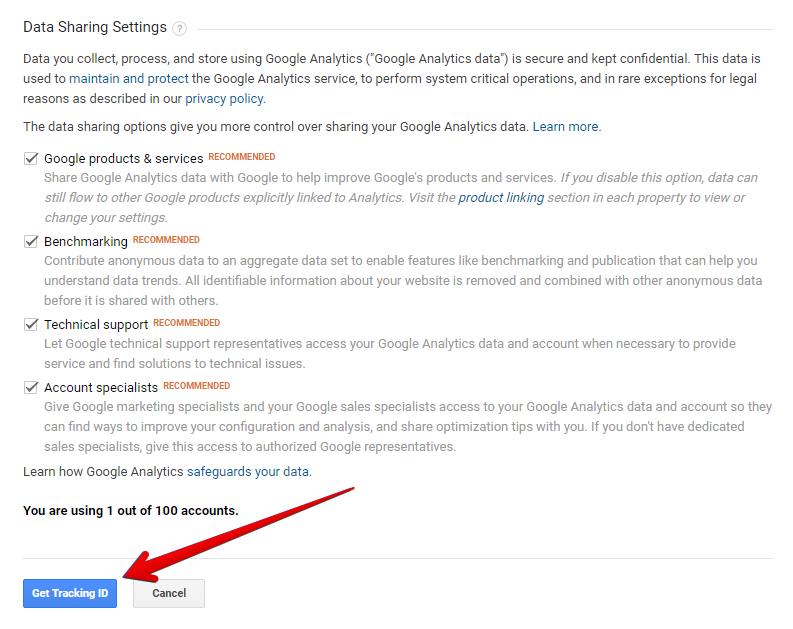
Click on Get Tracking ID:
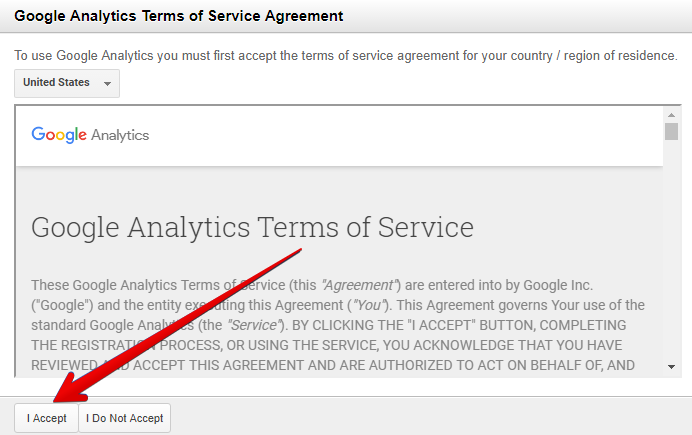
Read and accept the terms of Google Analytics service agreement:
Close this window, go back to the uKit Dashboard and click on I have created an account:
A Google Analytics counter has now been added to your uKit website.
You have finished the initial setup and have launched your first website. Now you can continue improving the website in the Builder. In case you have any questions about work with the website, we recommend browsing our