How Can I Build a Landing Page?
In this guide, we will give you a general idea of the uKit website builder and its features which will help you create your first landing page.
Creating a Landing Page
Go to ukit.com and click on Create a Website:

Choose a signup way that suits you best: with your social media account or with your email and password. Remember the info you indicated, it will be necessary for logging in to your account in the future.
Note:
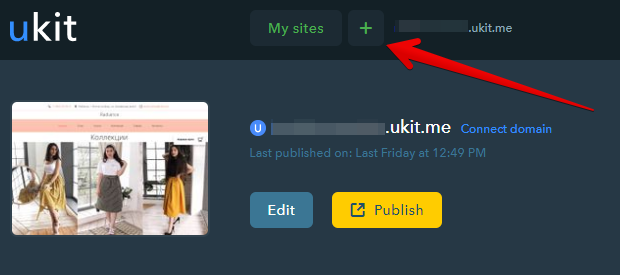
If you already have a website created with uKit, pull down the list of websites next to the uKit logo on the Dashboard and click on + Add a new website:
Choosing a Website Design
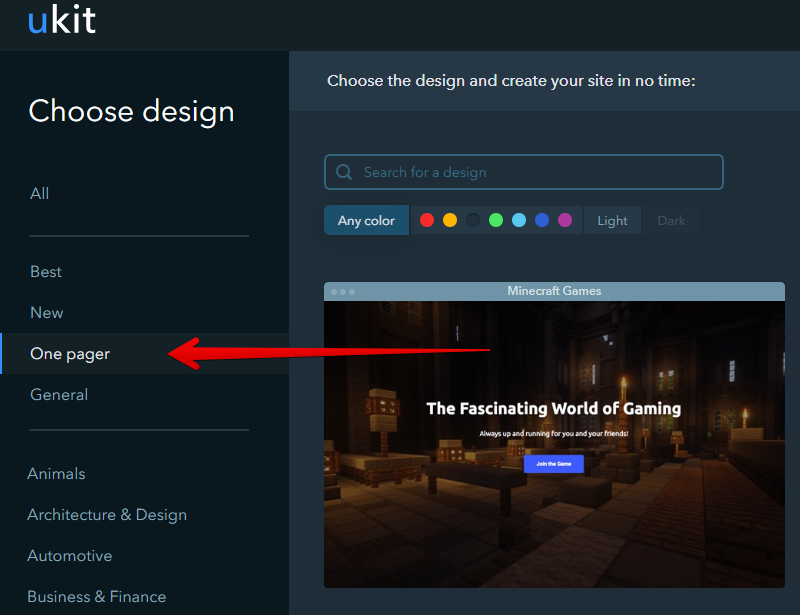
You can sort designs by a theme to choose the template that suits your business best. At this stage, pay more attention to the design as the content of the site can be changed later. You can also go directly to One pager to see the templates only for landing pages:
To learn more about a particular template, hover your mouse over it and click on Preview:

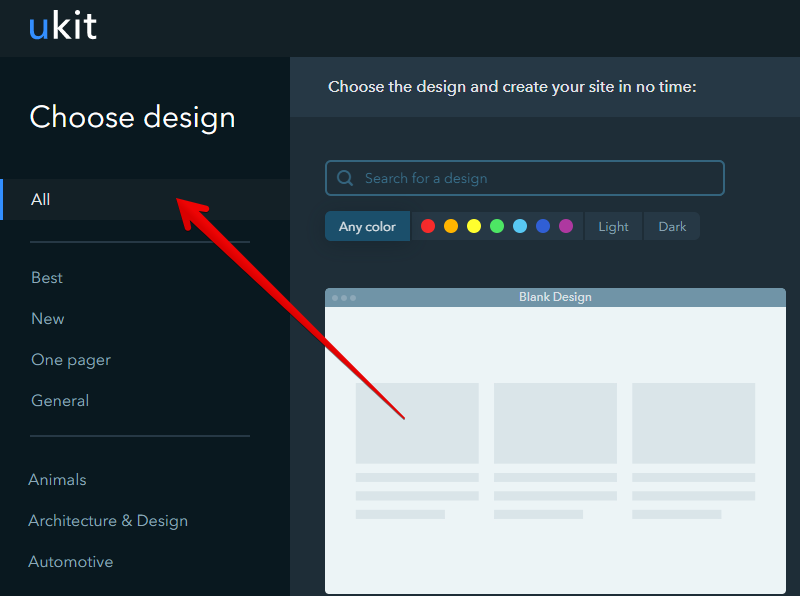
You can also see the list of all templates:
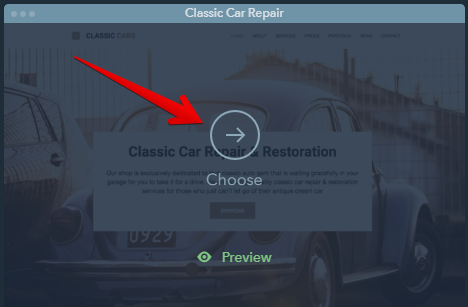
Once you find a design that is perfect for you, click on Choose:
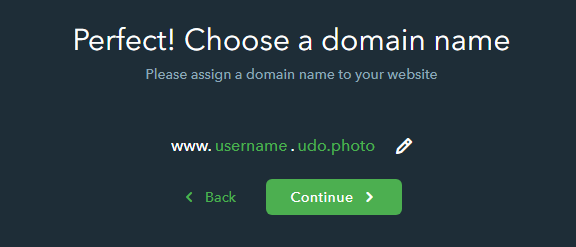
The next step is to choose a domain name for your landing page. Type in the desired name and click Continue:
Adding Content
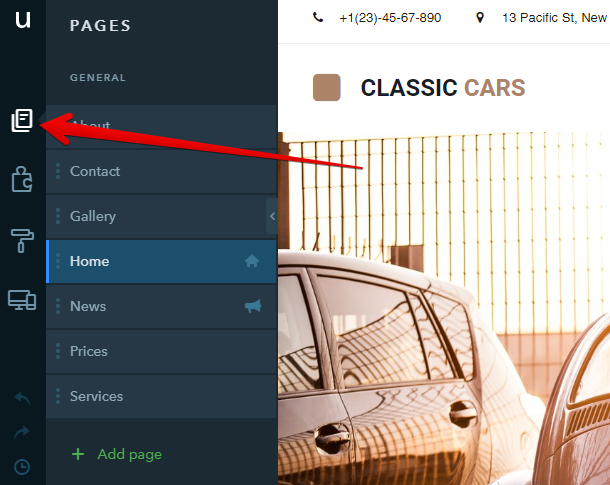
Go to the Site Pages tab of the Builder:
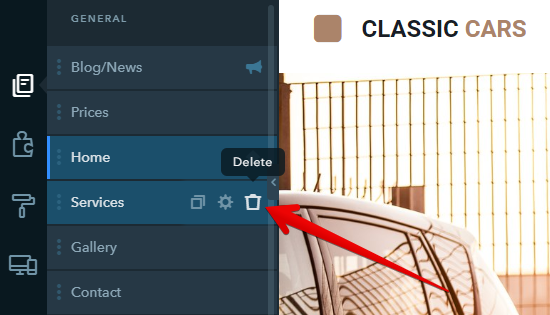
If you have chosen a template with several pages, you can delete them after you create the site. To delete a page, mouse over it on the list and click on the "trash" icon:
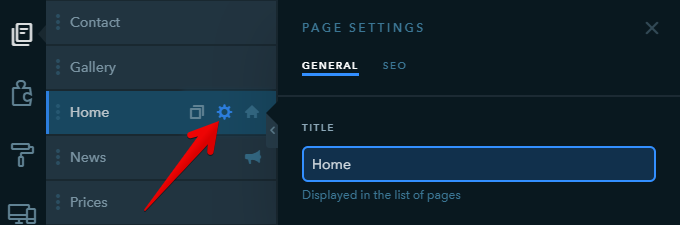
To edit a page: mouse over it and click on the "gear" icon. The General tab includes settings for the page title - this is the way it will display on the list of pages:
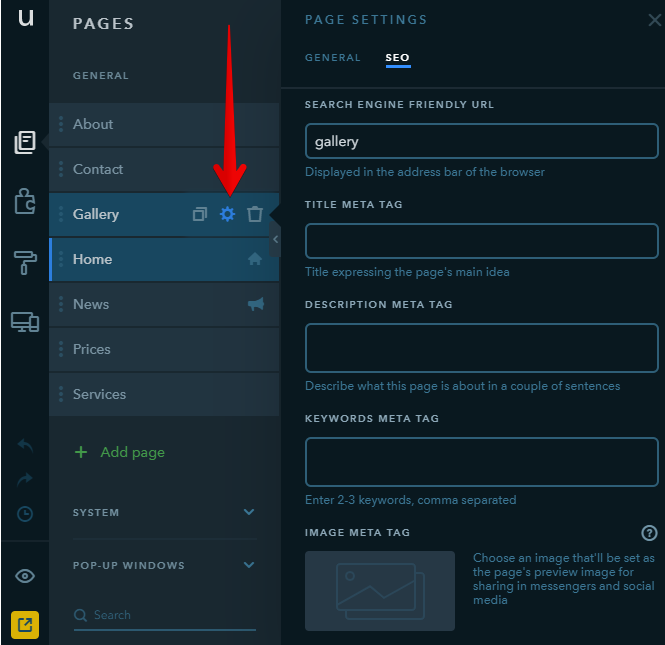
The SEO tab has a number of settings to configure the way a page looks in a browser tab and in search engine results: title, description, keywords. For some pages, you can also set up a search engine friendly URL and hide a page from indexing:
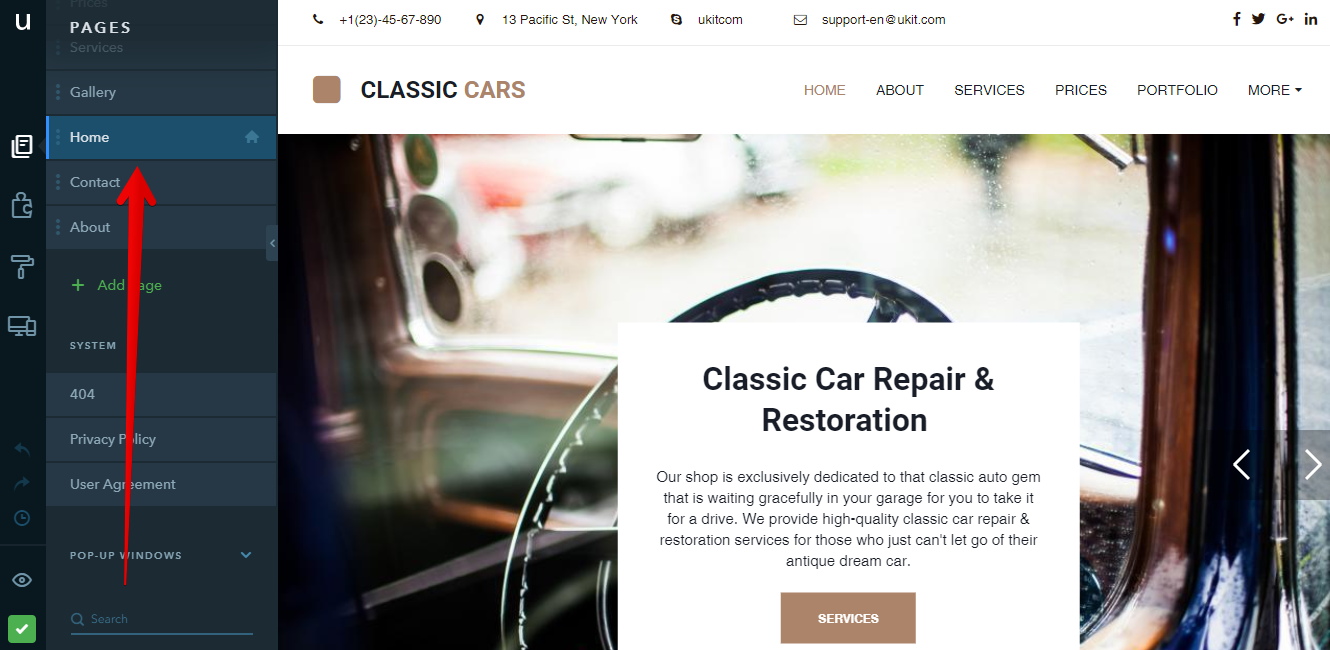
To proceed to fill a page with content, click on it on the list. In the right part of the builder you will see the default info added to a page:
To edit your landing page, first, you can remove unnecessary blocks. Hover your mouse over the block you don’t need and click on the x icon:

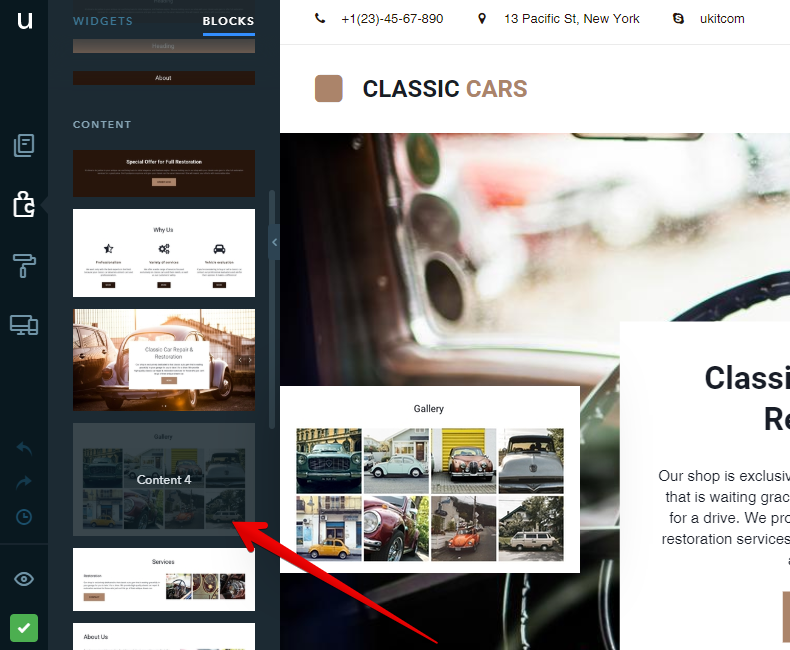
You can add new blocks and fill them with widgets. You can also select any block template:
You can edit the widgets which are already there:
Add new widgets:

And remove the unnecessary ones:

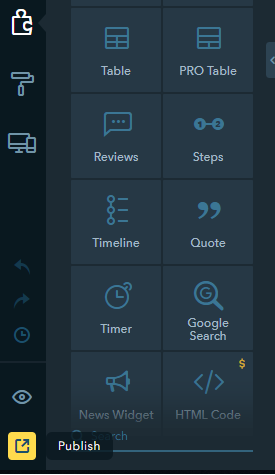
Once the site is ready, publish it, so it can go live and be viewed by everyone on the Internet:
Note:
The steps described above are just a recommended way of adding content. You may fill pages of your website with any widgets available.
Enabling Statistics
Website statistics are necessary for tracking your website visitors. Go to the uKit Dashboard by clicking on the uKit logo in the top left of your screen. Click on Statistics:

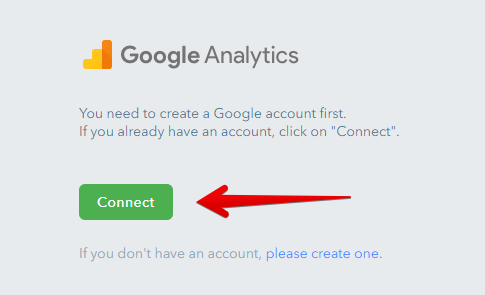
You can also enable Google Analytics.
Click on Connect under Google Analytics:
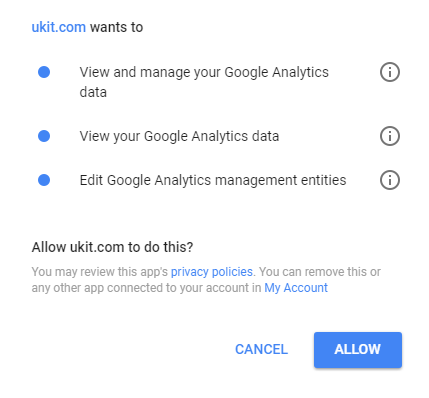
Then you will need to allow uKit to manage counters in your Google Analytics account:
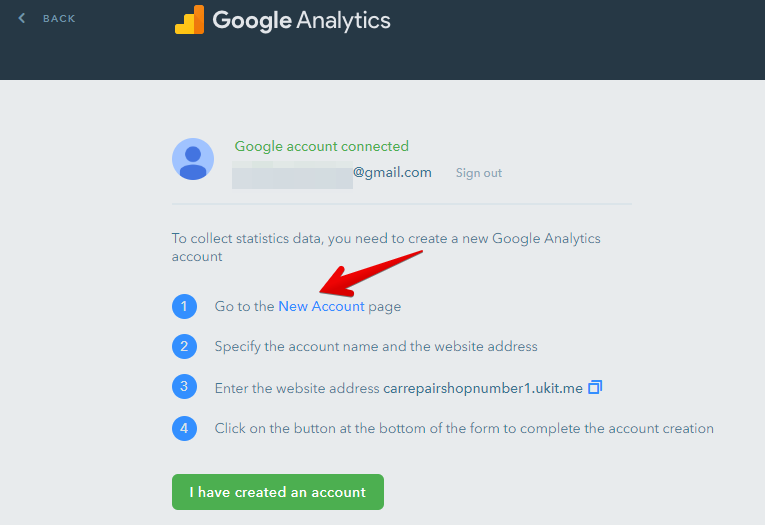
When your website is successfully connected to Google Analytics, you will see this message:

Create an account with Google Analytics by clicking New Account:
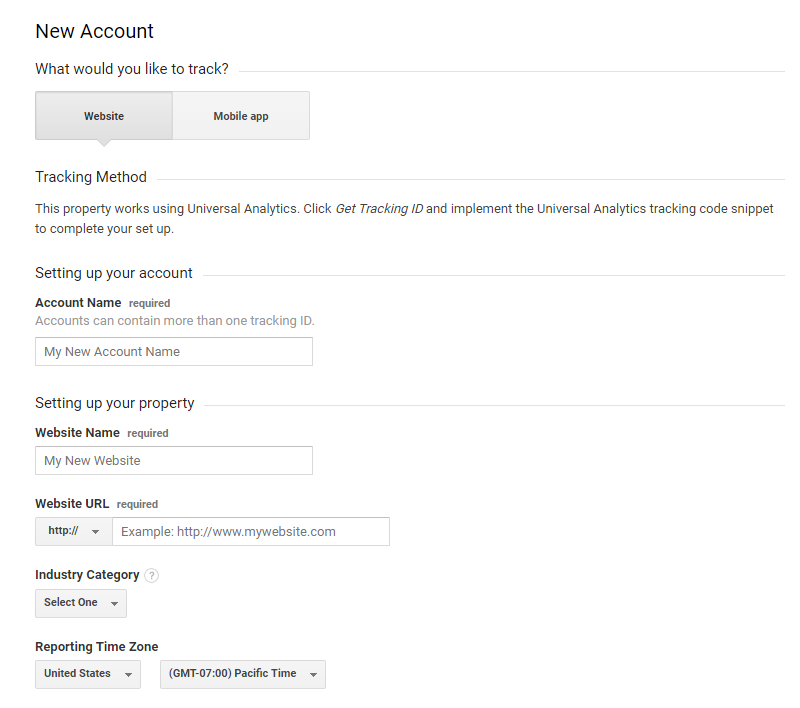
You will be redirected to Google Analytics where you need to fill in the registration form:
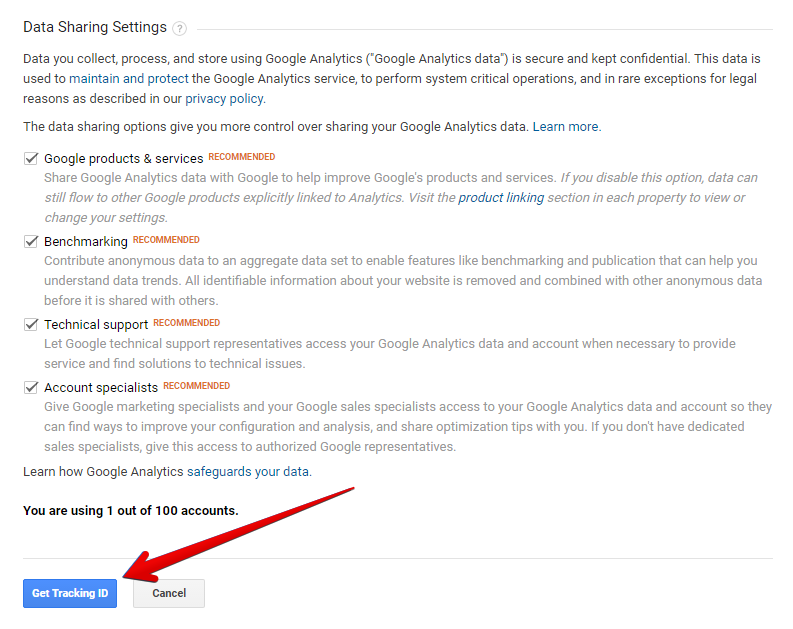
Click on Get Tracking ID:
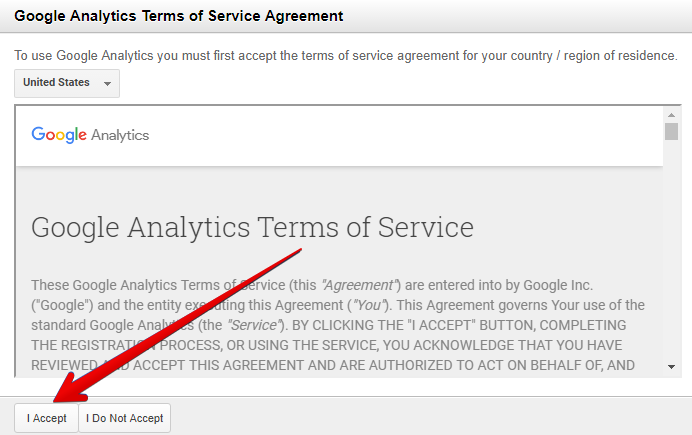
Read and accept the terms of Google Analytics service agreement:
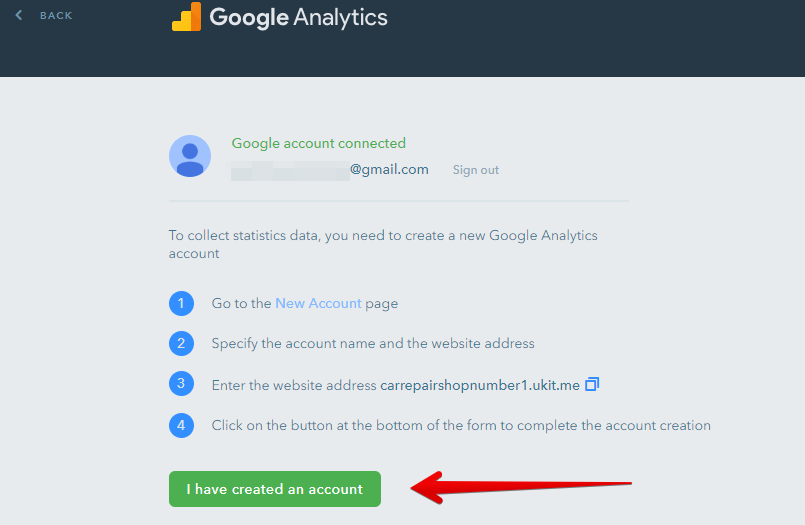
Close this window, go back to the uKit Dashboard and click on I have created an account:
A Google Analytics counter has now been added to your uKit website.
You have finished the initial setup and have launched your first website. Now you can continue improving the website in the Builder. In case you have any questions about work with the website, we recommend browsing our